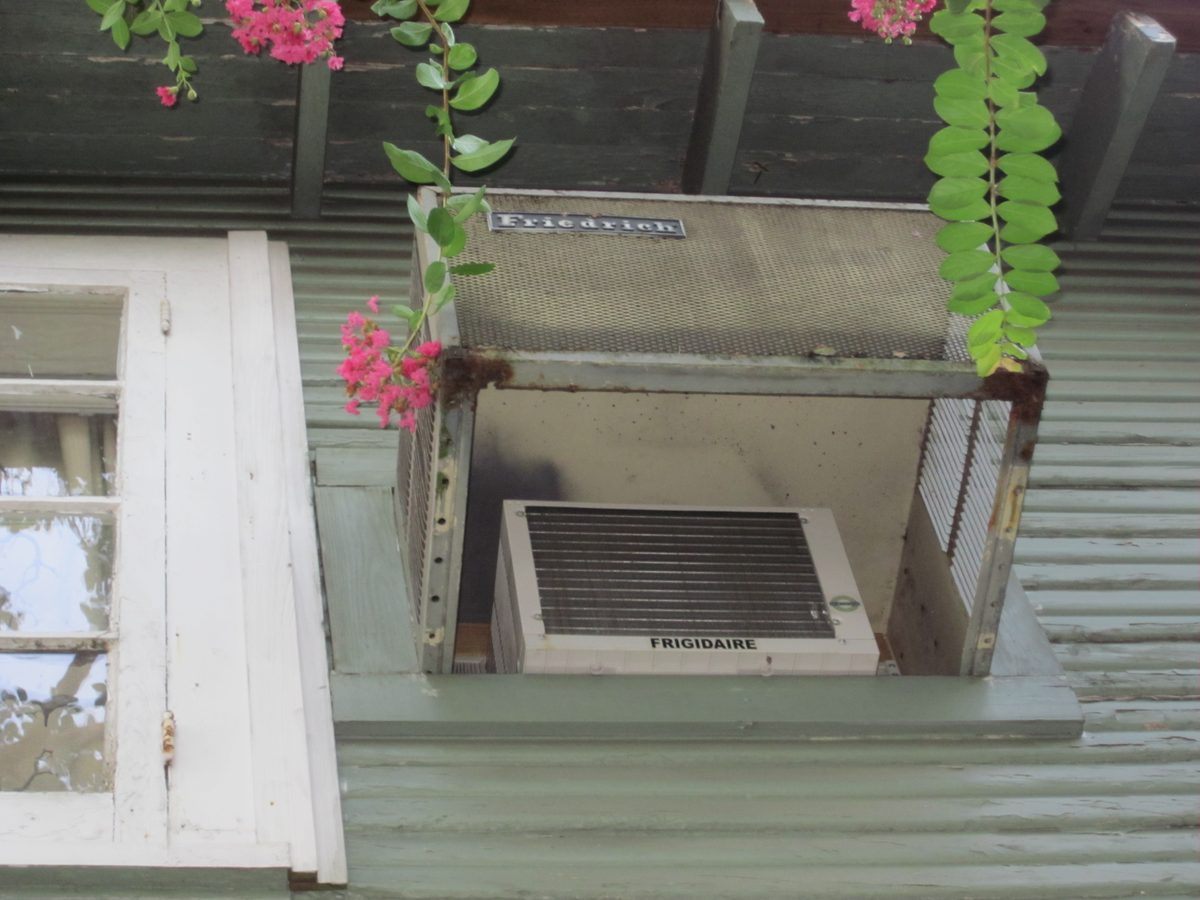
Do you need to cool one room on a tight budget, without installing a whole new system? A window air conditioner may be the answer. It is the simplest type of air conditioner you can buy. It sits in a window opening, pulls warm air from the room, cools it, and blows it back inside, while releasing heat outside through the back of the unit.
Window units have been around for a long time because they are affordable, easy to install, and easy to remove. This guide explains how they work, how to choose the right size, how to install one safely, and how to keep it running well.
How a Window Air Conditioner Works
A window air conditioner is a single box that contains all the parts of a cooling system in one place. Inside the front of the box, a fan pulls room air over a cold coil and blows the cooled air back into the room. At the back of the box, another fan blows hot air outside. A compressor inside the box moves refrigerant between the coils so heat can be carried from inside to outside.
The unit sits in a window opening, with the front inside the room and the back outside. Side panels or accordion panels fill the gaps on either side of the unit so outdoor air does not leak in around it. Most window units plug into a standard wall outlet, though larger models may need a dedicated circuit. Check the maker instructions and the plug type before you buy.
Many window units also have a fan only mode, a dry mode for humid days, and a timer. Some have a remote control. Some can also heat, but most window units sold for cooling only cool. If you need heat in winter, you will need another heat source or a model built for both heating and cooling.
Choosing the Right Size
Size matters more than any other choice. A window unit that is too small will run constantly and never cool the room on a hot day. A unit that is too large will cool quickly, shut off, and leave the room feeling humid and clammy. It will also turn on and off more often, which can wear out parts.
To choose a size, start by measuring your room. Multiply the length by the width to get the floor area. That area is the starting point for sizing. The maker will list a recommended room size for each model. Use that as a guide, but also think about your room. A room with large sunny windows, a room on the top floor, a kitchen, or a room with high ceilings will need more cooling than a shaded ground floor bedroom of the same size.
Think about how you use the room. A bedroom used only at night needs less cooling during the day than a living room where people gather in the afternoon. A home office with a computer, monitor, and extra lighting adds heat that the unit must remove. If you are between two sizes, ask a contractor or a knowledgeable store staff member for advice. It is usually better to choose the size that fits your room conditions rather than simply picking the largest unit on the shelf.
Types of Window Units
The most common window unit fits in a standard double hung window that slides up and down. The unit sits on the sill, the window closes down on top of it, and side panels fill the gaps. This type is the easiest to install and remove, and it is the most widely available.
Some units are built for sliding windows or casement windows that open sideways or crank outward. These units are taller and narrower than a standard unit. They fit in the side opening of a sliding window. If you have a sliding or casement window, make sure you buy a unit made for that window type. A standard unit will not fit safely in a sideways opening.
Through the wall units look similar to window units, but they are built to sit in a hole in the wall rather than in a window. They have a sleeve that goes through the wall and vents that are placed differently. Do not install a standard window unit through a wall. The vents on the sides and top of a window unit need open air to work, and a wall sleeve can block them and cause the unit to overheat.
Installation: Step by Step
Before you install, read the maker instructions for your model. Measure your window opening and check that the unit will fit. You will need a helper for larger units. They are heavy and awkward to lift on your own, and a dropped unit can injure you or damage the window.
Start by placing the unit on the window sill with the back outside. Center it in the opening. Lower the window sash down onto the top of the unit until it sits firmly. Most units come with a bracket or screws to hold the sash in place and to secure the unit to the sill. Use them. A unit that is not secured can tip inward or fall outward.
Pull out the side panels to fill the gaps on either side. Secure them according to the instructions. Seal any remaining gaps with foam weatherstripping. Gaps around the unit let hot outdoor air leak in and let cool air leak out, which makes the unit work harder. Some people use a piece of foam board or plexiglass to fill a large gap above a unit in a tall window.
Check the tilt. The unit should tilt slightly outward so water that condenses inside drains outside rather than into your room. Most units have a built in tilt or a drain hole at the back. If you see water dripping inside, the tilt may be wrong or the drain may be clogged. Adjust the tilt and clear the drain.
Plug the unit in and test it. Set the temperature to a comfortable level and let it run. Feel the air coming from the front. It should feel clearly cooler than the room air. Listen for rattling. A rattle can mean the unit is not sitting level or a side panel is loose. Fix the fit before you leave it running.
Using Your Window Unit Well
Set the temperature to a comfortable level and leave it there. Avoid setting it very low to try to cool faster. The unit cools at its own pace, and a very low setting only makes it run longer. Use a fan in the room to help move cool air. A ceiling fan or a portable fan can make the room feel cooler so you can keep the thermostat setting a little higher.
Close blinds or curtains on sunny windows during the hottest part of the day. Sunlight adds heat that the unit must remove. Close doors to the room you are cooling if you want to cool one room, but leave a small gap or make sure air can move if the room feels stuffy. Keep heat producing appliances out of the room when you can. An oven, dryer, or large television adds heat that the unit must fight.
Use the timer if your unit has one. Set it to turn on before you come home so you return to a cool room, and set it to turn off or set back at night when it is cooler outside. On mild days, use the fan only mode to move air without cooling. That can be enough to feel comfortable without running the compressor.
Maintenance
Clean the filter regularly. The filter is usually behind the front grille. Slide it out, wash it with warm soapy water, rinse it, let it dry fully, and put it back. A dirty filter blocks airflow, reduces cooling, and can cause the coil to freeze. In summer, check the filter every few weeks, especially if you have pets or dust.
Clean the front grille and the outside of the unit with a damp cloth. At the end of the cooling season, remove the unit if you can, or cover it if it stays in the window. A unit left in the window all winter can let cold air leak in around it and can be damaged by snow and ice. If you remove it, store it upright in a dry place. Do not store it on its side. That can let oil move into parts of the system where it does not belong.
Before you reinstall a stored unit, clean the filter and wipe the coils if you can reach them safely. Check the power cord for damage. If the cord is frayed or the plug is loose, do not use the unit until it is repaired or replaced. If the unit makes new noises, leaks water inside, or stops cooling, unplug it and have it checked.
Safety Tips
Never use an extension cord for a window air conditioner unless the maker instructions say it is safe and you use a cord rated for the unit. A light duty extension cord can overheat and become a fire risk. Plug the unit directly into a wall outlet if possible. If the outlet feels warm or the plug is loose, have an electrician check it.
Make sure the window can support the weight of the unit. Older windows with rotted wood or loose sashes may not be safe. If the window feels weak, do not install a heavy unit in it. Use a support bracket made for window units, which transfers some of the weight to the outside wall. A bracket is especially important for larger units and for upper floor windows.
Keep the unit out of reach of children. The front grille has moving fan blades behind it. Do not let children poke objects into the grille. Keep curtains and bedding away from the front of the unit so air can flow freely and fabric does not get caught in the fan.
When a Window Unit Is Not Enough
A window unit is a good choice for one room, a small apartment, or a temporary cooling need. It is less ideal when you want to cool a whole home with many rooms, or when you want quiet, even cooling through the house. A single window unit cannot cool rooms with closed doors, and its noise can be noticeable in a bedroom.
If you find yourself running several window units all summer, or if your home has rooms that never stay comfortable, it may be time to talk to a contractor about a mini-split or a central system. A contractor can look at your home, your insulation, and your windows, and help you compare the cost and comfort of a larger system with the cost of running several window units.
For many people, a window unit is the right first step. It is affordable, it can be installed in an afternoon, and it can make a hot room livable. Choose the right size, install it securely, keep the filter clean, and use it steadily. That simple approach will keep your room cool all summer without a major project.