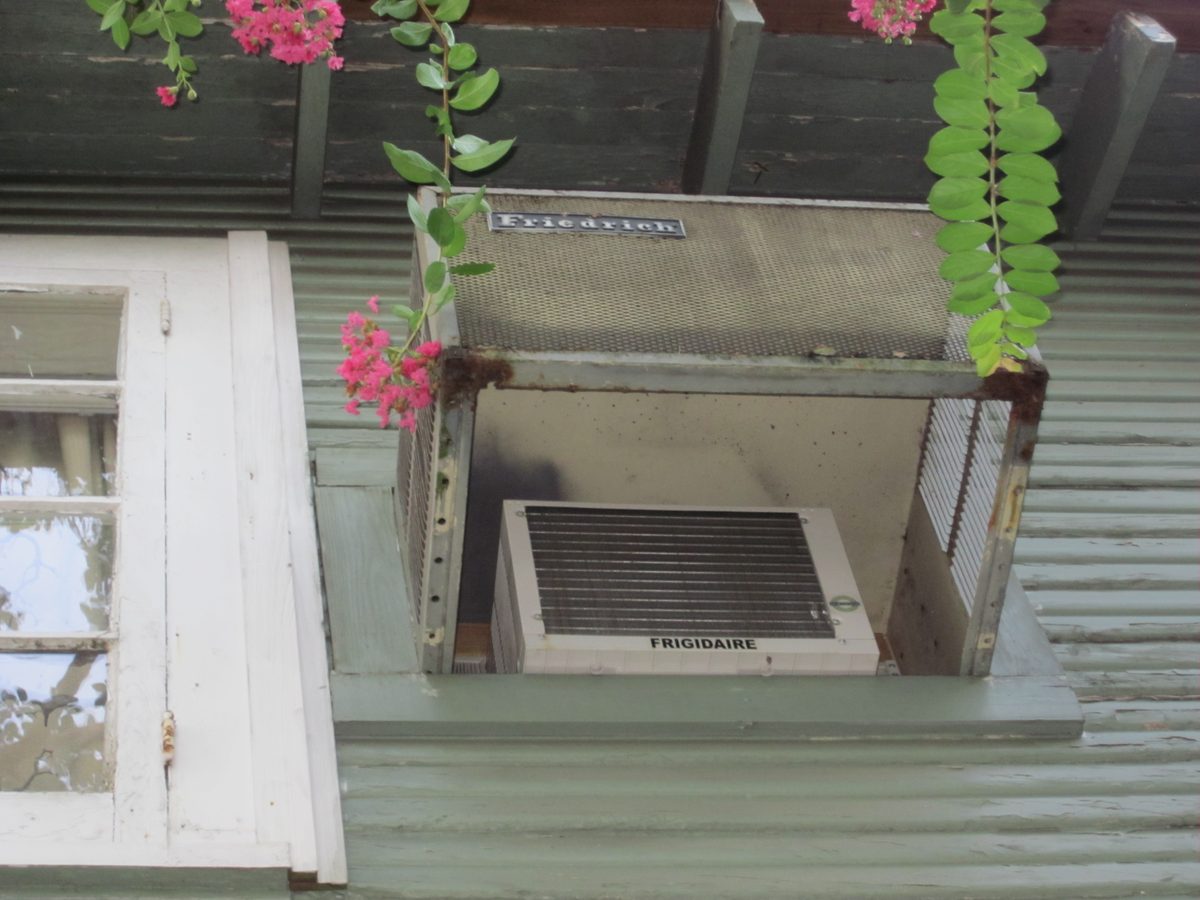
What do you do when a room needs its own air conditioner but the window is not an option? A through-the-wall unit is the answer most people land on. The LT1236CER is an 11,800 BTU through-the-wall air conditioner that runs on 230 volts, carries the Energy Star label in its product name, and comes with a remote control. This guide explains how that kind of unit works, which rooms it suits, and what to get right when you install one.
What a through-the-wall air conditioner is
A through-the-wall air conditioner is a single self-contained box that sits in a sleeve cut into an exterior wall. Everything lives in one cabinet: the evaporator coil and fan on the room side, the compressor and condenser coil on the outside, and the controls in between. It cools one room directly, with no ductwork and no indoor and outdoor units to connect. The sleeve stays in the wall permanently, and the chassis slides in and out of it, which makes replacement much simpler than cutting a new opening later.
The layout looks like a window unit, but the differences matter. A through-the-wall chassis is built to sit level in a wall sleeve with the correct slope for drainage, while a window unit is shaped to hang in a sash and is not interchangeable with a wall sleeve. The wall sleeve also seals the opening against drafts, rain, and insects when the unit is in place, and a cover can close it off in the off-season. If a home already has a sleeve in the wall from an older unit, the first question is whether the new chassis fits that sleeve, since sleeve sizes vary.
What 11,800 BTU means for a room
BTU measures how much heat an air conditioner can move in an hour, and 11,800 BTU is a mid-size capacity for a single room. As a rough guide, a unit of this size often suits a room in the range of 500 to 550 square feet, but the room itself decides the real answer. A sunny room with large windows, high ceilings, or poor insulation needs more capacity per square foot than a shaded, well-insulated room of the same size. A kitchen that runs hot, a room full of people, or a space with computers and other heat-producing equipment adds load too.
Getting the size close matters more than getting it exactly right. A unit that is far too small runs all day and still falls behind on hot afternoons. A unit that is far too large cools the air quickly and shuts off before it has pulled much moisture out of the room, leaving the air cool but damp. Measure the room, note the windows and the sun exposure, and if the room sits on the edge between two sizes, a contractor can help you decide rather than leaving it to a guess at the store.
Why 230 volts matters
The LT1236CER runs on 230 volts, which is the supply used by larger room air conditioners and many household appliances. A 230-volt unit of this capacity draws less current than a 115-volt unit of the same size, and it needs a dedicated 230-volt circuit with the right outlet and breaker. Many older homes have a 230-volt outlet already in place where a through-the-wall unit used to sit, but the plug shape and the circuit rating have to match the new unit.
Before buying, check the outlet in the wall and the breaker in the panel. The plug on a 230-volt unit has a different shape from a standard household plug, and it will not fit a 115-volt outlet. If the circuit is not there, an electrician needs to run one, and that work belongs in the budget from the start. Never use an adapter or an extension cord to make a 230-volt unit fit a different outlet; the mismatch is a fire risk and will void the warranty. Confirm the electrical requirements in the product literature and match them exactly.
Energy Star and the remote control
The product name includes the Energy Star label, which is a mark used for products that meet efficiency criteria set by the Energy Star program. In general, an Energy Star labeled room air conditioner is designed to use less electricity than a comparable unit without the label while delivering the same cooling. The label is a starting point for comparing efficiency, not a promise about any single home's electric bill, since real use depends on the room, the climate, and how the unit is run.
The remote control is more useful than it looks. It lets you change the temperature, fan speed, and mode from across the room, and many remotes include a timer and a sleep setting that eases the temperature overnight. The timer is the most practical feature: set the unit to start cooling before you get home or to shut off after you fall asleep, instead of running all day in an empty room. Keep the remote somewhere fixed, like a hook by the door, since a lost remote means walking to the unit for every change and often means paying for a replacement.
Installing a through-the-wall unit
Installation begins with the opening. If a sleeve already exists, measure its inside dimensions and compare them with the new chassis, including depth, since a chassis that is too deep sticks out into the room or past the outside wall. If there is no opening, cutting one means framing the hole, adding a header above it, sealing the edges, and fitting the sleeve level with a slight outward slope so condensate drains outside. That is carpentry and weatherproofing work, not just a matter of pushing a box into a hole, and a poor seal lets in drafts, rain, and insects.
Once the sleeve is ready, the chassis slides in, the front grille goes on, and the unit plugs into its dedicated outlet. Check that the chassis sits level with a slight tilt toward the outside, that the seal around the sleeve is tight, and that the drain path is clear. On the outside, the grille needs clearance for airflow and should not be blocked by shrubs or a deck. If the unit replaces an older one, the old chassis comes out of the sleeve and the new one slides into the same sleeve when the sizes match, which is the simplest swap of all.
Everyday care and maintenance
Routine care keeps a through-the-wall unit cooling well for years. Wash the filter every few weeks during the cooling season, since a dirty filter cuts airflow, ices the coil, and makes the unit work harder. Wipe the front grille and the louvers, vacuum dust from the coils when you can reach them, and check the drain at the back of the sleeve to make sure water is flowing outside when the unit runs. Outside, clear leaves and debris from the rear grille so air can move through the condenser coil.
At the end of the season, clean the filter, wipe the unit down, and fit a cover over the outside grille or the whole sleeve if the manufacturer recommends one. A cover keeps cold air, rain, and insects out during the months the unit sits idle. In spring, remove the cover, check the seal around the sleeve, and run the unit for a while to make sure it cools and drains normally before the first hot week. If the unit starts making new noises, drips water inside, or cools weakly, turn it off and call a technician rather than running it through the problem.
When a through-the-wall unit is the right call
A through-the-wall unit fits rooms that need dedicated cooling without ductwork: bedrooms, home offices, converted garages, additions, and apartments where a window unit is not allowed or not practical. It leaves the window free for light and air, it is harder to remove from outside than a window unit, and it looks tidier than a box hanging in a sash. It also suits homes that already have sleeves in the walls, since a swap takes an afternoon rather than a construction project.
It is less suited to cooling a whole home or a large open space, since one box can only move so much air and the far end of a long room will always lag behind. In that case a split system or a central system serves the space better. Before you commit, check the sleeve size, the electrical circuit, and the room size, and confirm that the unit you are considering is built for a wall sleeve rather than a window. Get those three details right and the unit will do its job quietly for years.