Is a 3-ton split system the right size for your home, and what do the two model numbers in the name actually mean? If you are comparing central air options, the Goodman DSXC180361A and AVPTC48D14A pairing is a useful example to learn from, because it shows how a split system is really two pieces of equipment working as one. This guide walks through what each part does, how capacity is measured, how to think about sizing, and what to talk over with a contractor before anyone starts work.
What a split system is
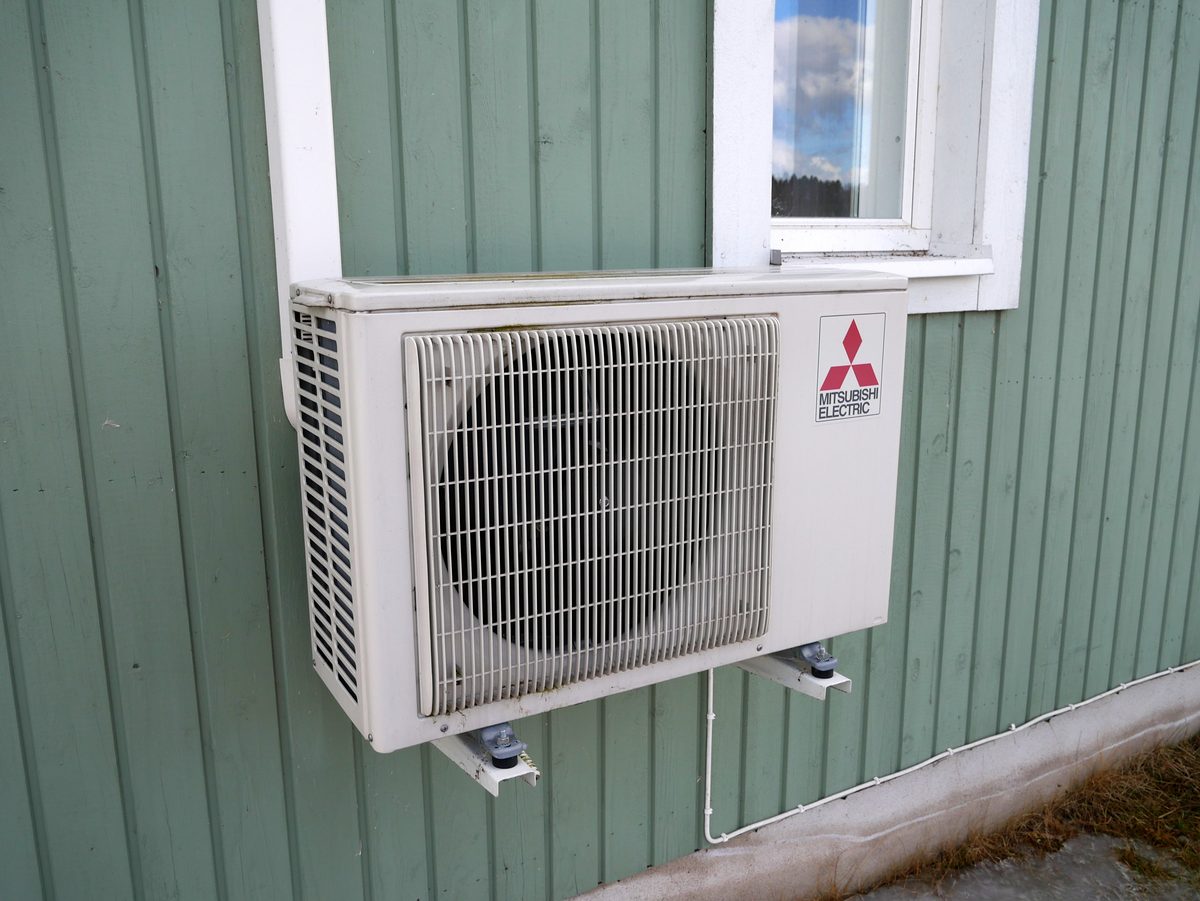
A split system divides the cooling job between two boxes. The outdoor unit holds the compressor and the condenser coil, and the indoor unit, called an air handler, holds the evaporator coil and the blower fan. Refrigerant lines and control wiring run between them, usually through a wall, and the pair connects to the ductwork that already runs through the house. When the thermostat calls for cooling, the compressor pumps refrigerant through the loop, the indoor coil pulls heat out of the air passing over it, and the blower pushes that cooled air through the ducts and into each room.
The split design is the standard layout for central air in most American homes. It keeps the noisy compressor outside, puts the air-moving parts inside where they can connect to ducts, and lets each half be serviced or replaced on its own if needed. In this pairing, the DSXC180361A is the outdoor condensing unit and the AVPTC48D14A is the indoor air handler. The two are sold as a matched set, which matters because the coils, airflow, and refrigerant flow are designed to work together.
What 3-ton capacity means
A ton of cooling is a unit of capacity, not a weight. One ton equals 12,000 BTU per hour, so a 3-ton system moves about 36,000 BTU of heat per hour under rated conditions. That number tells you how much heat the system can remove, not how cold the air coming out of the vents will feel. A properly sized system runs in steady cycles, pulls humidity out of the air as it cools, and holds the temperature the thermostat asks for without short cycling on and off every few minutes.
As a rough rule of thumb, many homes need somewhere around one ton of cooling for every 500 to 700 square feet, but that range is only a starting point. The real answer depends on the climate, how well the house is insulated, how much glass faces the afternoon sun, ceiling height, air leakage, and how many people and heat-producing appliances are in the home. A house in a hot, humid climate with single-pane windows needs more capacity per square foot than a well-sealed house in a mild climate. That is why sizing by square footage alone often goes wrong.
How a contractor sizes a system
A careful contractor runs a load calculation, often called a Manual J, before recommending a size. The calculation looks at the size and orientation of each room, the insulation levels in walls and attic, window types and shading, air leakage, and local design temperatures. The result is a cooling load in BTU per hour, and the contractor matches equipment to that number rather than to the size of the old unit. An old unit may have been oversized from the start, and the house may have had insulation or window work done since it was installed.
Oversizing causes its own problems. A system that is too large cools the air quickly and shuts off before it has run long enough to pull moisture out of the air, which leaves the house feeling cool but clammy. It also starts and stops more often, which wears parts and makes temperatures uneven from room to room. Undersizing is no better, since the system runs constantly on the hottest days and still falls behind. The goal is a system that runs in long, steady cycles on a design day and keeps up without straining.
What SEER means in plain terms
SEER stands for Seasonal Energy Efficiency Ratio. It measures how much cooling a system delivers over a whole cooling season divided by the electricity it uses, with the test run under standard lab conditions. A higher SEER rating generally means the system uses less electricity for the same amount of cooling. The rating is a useful way to compare one system with another, but it is not a promise about any single home's electric bill, because real-world use depends on sizing, ductwork condition, climate, and thermostat habits.
When you compare efficiency ratings, compare complete matched systems rather than single boxes. The rating applies to the outdoor unit and indoor unit working together, and pairing an outdoor unit with a different air handler can change the result. Ask the contractor for the rated combination and keep the paperwork, since that is the number that reflects the system as installed. Also remember that duct leakage and poor airflow can waste more energy than the difference between two efficiency ratings, so the condition of the ducts matters as much as the label.
Installation notes for a split system
Installing a split system is a job for a licensed contractor, and most areas require a permit and an inspection. The outdoor unit needs a level pad or bracket, clear space around it for airflow, and a location away from dryer vents and heavy dust. The indoor air handler goes in a closet, attic, garage, or utility space with room around it for filter changes and service. Refrigerant lines must be sized and insulated correctly, the condensate drain needs a clear path with a trap and an overflow safeguard, and the electrical circuit and disconnect must match the equipment requirements.
Before the new equipment goes in, a good installer checks the ductwork. Leaky or undersized ducts can starve rooms of air, create hot and cold spots, and force the blower to work harder than it should. Sealing duct joints, insulating ducts that run through hot attics, and balancing airflow to each room often make a bigger comfort difference than the equipment itself. Ask whether the quote includes a duct check and whether the refrigerant charge will be verified after startup, since an incorrect charge is one of the most common causes of poor performance in a new install.
Keeping a split system running well
Most of the upkeep on a split system is simple and regular. Change or clean the air filter on the schedule the installer recommends, and check it monthly during heavy use, since a clogged filter cuts airflow, freezes coils, and strains the blower. Keep grass, leaves, and shrubs clear of the outdoor unit so air can move freely through the coil, and hose the coil gently from the inside out if dirt builds up. Make sure the condensate drain stays clear, since a clogged drain can shut the system down or spill water into the house.
Have a technician check the system once a year, ideally before the cooling season starts. A routine visit covers the refrigerant charge, electrical connections, blower and motor condition, thermostat calibration, and a check for duct leaks or worn insulation. Small problems found early, like a weak capacitor or a slow drain, are cheap to fix and easy to ignore until they turn into a no-cooling call on the hottest weekend of the year. Keep a record of each visit and any parts replaced, since that history helps the next technician and supports any warranty claim.
Questions to ask your contractor
Before you agree to an installation, ask how the size was determined and whether a written load calculation is included. Ask what is included in the price: the outdoor unit, the air handler, line set, drain work, electrical work, duct sealing, thermostat, permits, and haul-away of the old equipment. Ask how long the work will take, what happens if the ductwork needs repairs, and what warranty covers parts, labor, and the compressor. Get the answers in writing rather than relying on a verbal promise.
Also ask about the thermostat and airflow. A thermostat with a fan setting that can run the blower between cooling cycles helps even out temperatures, and a check of airflow at each vent after installation shows whether every room is getting its share. If some rooms are always warmer than others, say so before the work starts, since the fix may involve duct changes rather than a larger unit. A contractor who measures, explains, and documents is worth more than one who simply quotes the lowest number.
Comparing split systems side by side
When you compare one split system with another, look past the brand name and the headline number. Compare the rated capacity and efficiency of the matched pair, the type of air handler, the warranty terms, and the quality of the installation behind it. A variable-speed blower can hold steadier temperatures and move air more quietly than a single-speed blower, but it costs more up front, so weigh that against how long you plan to stay in the home and how much the comfort difference matters to you.
Also consider the installer as part of the product. Two identical systems can perform very differently depending on how carefully they were sized, charged, and connected to the ductwork. Check reviews, ask for references from recent jobs, and confirm licensing and insurance before work begins. A well-installed mid-range system will outlast and outperform a top-tier system that was rushed in, so treat the crew and the equipment as one purchase, not two.